File Setup
Understanding Options for Saving to PDF
Laying Out Documents for Print
Creating and Exporting Bleeds Using Adobe InDesign
Using Adobe InDesign's Print Booklet Plug-In
Creating a Cutting Path for the Roland
Saving and Applying Metadata with Job Tickets
This document is intended to help use metadata for inputting DPC job information using the custom DPC Job Ticket file info panel in Adobe Creative Suite.
Alternative Resources
For a more in-depth understanding of this topic, we recommend the following School of Print Media class: Digital Asset Management. If you have questions, please consult your instructor or a DPC Customer Service Representative (CSR).
Defining Metadata
Metadata is literally “data about data”. It is structured information stored within a file that helps the user to describe, locate, and retrieve the file.
Advantages of Using Metadata in the DPC
By embedding metadata into your files, you can help to expedite the DPC job submission and processing times. By using our custom XMP File Info Panel, DPC Job Ticket, you will be able to fill out job tickets before uploading your files to SPM-Portal. When you use this custom XMP Panel in any of the Adobe Creative Suite applications, all of your job information will be saved within your file.
Using the Custom XMP File Info Panels (DPC Job Ticket)
Our custom XMP File Info Panel DPC Job Ticket can be found in Adobe Creative Suite on all CIAS computers, as well as Adobe Acrobat Professional.
Using Adobe InDesign, Illustrator, or Photoshop:
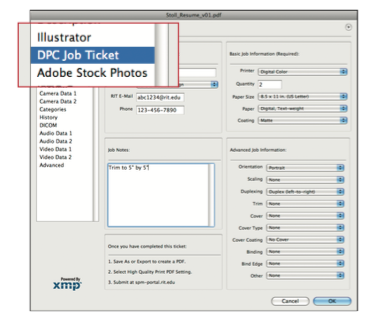
Figure 1: DPC Job Ticket panel in Adobe CS
Using Adobe Acrobat:
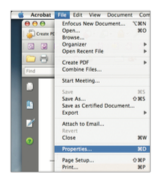
Figure 2: Finding metadata dialog box in Acrobat Professional
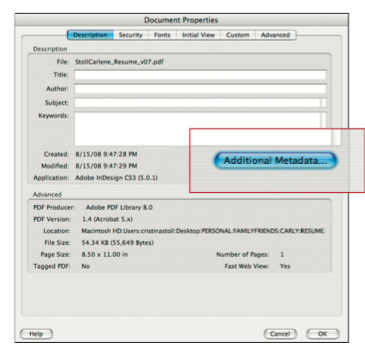
Figure 3: Metadata dialog box can be found under Additional Metadata
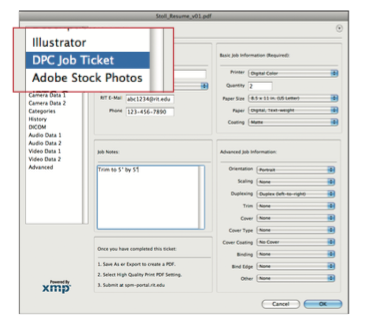
Figure 4: DPC Job Ticket panel in Adobe CS
Loading DPC Job Ticket Panel to Personal Computers
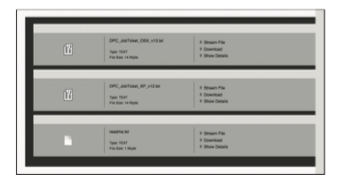
Figure 5: SPM-Portal volume for downloading the custom panel
Saving and Applying Metadata Templates
If you are working with our DPC Job Ticket info panel, one way to speed up the process of adding and maintaining consistency in metadata is using saved metadata templates. Using saved templates will enable you to fill out job tickets without having to retype the information. Use the following instructions to save, apply, and batch append metadata templates.
Saving Metadata Templates

Figure 6: Saving a metadata template
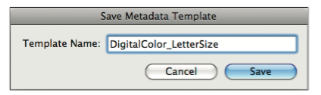
Figure 7: An example of using an appropriate filename
Applying Metadata Templates
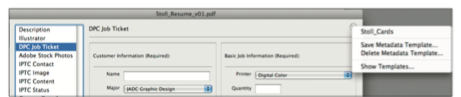
Figure 8: How to locate where the templates files are saved
Batch Appending Metadata Templates in Adobe Bridge:
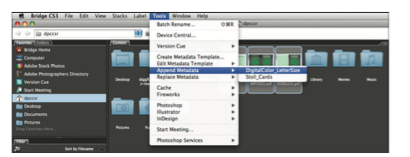
Figure 9: Batch appending metadata templates in Bridge