Uploading to SPM-Portal (long)

  1. In a web browser (Mozilla Firefox is recommended), connect to the SPM Portal website, at http://spm-portal.rit.edu. Be sure that Javascript has been enabled in your browser.

  2. If you are an RIT student, select RIT Login at the top-right of the page. This will bring you to the login page for the Portal.

  3. Enter your RIT (DCE) username and password in the login panel at the top of the page. Click on login. (Figure 1)

  4. Figure

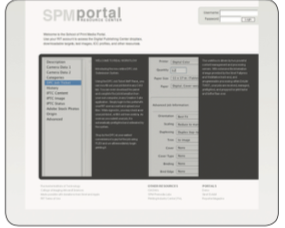
    Figure 1: Portal Login


  5. Your available resources are listed in the middle of the page. To submit a new job to the DPC, select DPC Dropbox from the list by clicking on either the folder icon or the name. (Figure 2)

  6. Any jobs you have uploaded, but have not submitted, will be listed in the main page. There may not be any files listed if this is your first time submitting a job using the Portal. (Figure 3)

  7. Figure

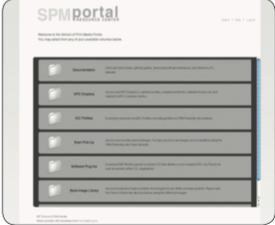
    Figure 2: DPC Dropbox


  8. Before uploading your file, there are a number of things that you should check:

    • Be sure to remove any special characters and spaces from the filename(s). We recommend using only letters, numbers, and underscores. (ex: Lastname_file01.pdf )

    • The DPC accepts only PDF or TIFF* file formats. * wide format jobs only

    • Job tickets are associated with specific files. If you have multiple files with the same specifications (i.e. print device, sheet size, duplex/simplex, orientation), we recommend combining them into one PDF file. This will speed up processing and reduce the amount of work for you.

  9. When your files are ready for upload, select the Upload New File button at the right of the page. A new window or tab will open to help you upload your job files. (Figure 3)

  10. Figure

    Figure 3: Uploading Files


  11. In the Upload window, you can upload up to 4 files at the same time. Select the Browse button to select the first file. Do this for each file you wish to upload.

  12. To upload your file(s), select Upload Files at the bottom of the window. Larger files may take a few minutes to upload depending on your connection. Please be patient. When the upload has completed, text will appear at the top of the window, showing you the combined size of the upload.

  13. Figure

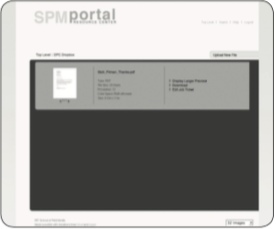
    Figure 4: Active Jobs


  14. Select Done to close the Upload window. The main page will refresh itself to update your list of files. If you need to upload more than 4 files, you may click on the Upload New File button again and repeat steps 8 and 9 above. (Figure 4)

  15. To complete the job information for a file, select Edit Job Ticket. This must be done for every file you have uploaded.

  16. Be sure to complete all the contact information for each file. The DPC cannot complete jobs without this information.

  17. Select the appropriate options for each job in the fields listed. If the option is not appropriate for your job, select None. You may always add more information in the Job Notes text field at the bottom of the ticket. (Figure 5)

  18. Figure

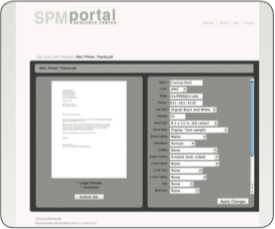
    Figure 5: Creating Job Tickets and Submission


    • Online Students: If your job belongs to a class project and you are not picking up your job at the DPC, please add your complete mailing address to the Job Notes field.

  19. Select Apply Changes to save your options.

  20. Once you have completed all of the fields, click Submit Job in the left-hand side of the page. This will transfer your job and its ticket to DPC Customer Service. You will shortly thereafter receive an e-mail confirmation including your job details.

    • Note: Once you click Submit Job, your file will no longer appear in the dropbox.

  21. If you have any questions regarding the SPM Portal site, DPC Job Submission, or DPC capabilities, please contact a Customer Service Representative at 585-475-5954.

Get In Touch